

Why Overseeding Often Beats Starting Over
A thin or patchy lawn can feel discouraging, but in most cases it does not require a full tear-out and renovation. Overseeding - the practice of spreading new grass seed directly into existing turf - can restore density, improve color, and crowd out weeds without the significant cost and effort of removing and replanting an entire lawn. For a comparison of full lawn establishment methods, see grass seed vs. sod.
The key is preparation. Grass seed needs mineral soil contact, adequate moisture, and the right timing to germinate - conditions that a few critical preparation steps can reliably create. When those conditions are met, overseeding is one of the highest-return lawn care tasks available to homeowners. It also integrates naturally into a broader seasonal maintenance routine; our fall lawn care guide covers how overseeding fits alongside aeration, fertilizing, and cleanup for the best spring results.
Timing Is the Single Biggest Lever
For cool-season grasses (tall fescue, Kentucky bluegrass, perennial ryegrass), early fall - roughly six weeks before the first expected frost - offers the ideal combination of warm soil, cooler air, and reduced weed pressure. For warm-season grasses (Bermuda, zoysia, centipede), late spring to early summer aligns with their active growth window. Seeding outside these windows significantly lowers germination rates.
Below is what you will need before getting started:
What you will need
And here are the tools that make the job easier:
Lawn mower
Scalp the existing turf short before overseeding to reduce competition and improve light access for new seedlings.
Dethatching rake or power dethatcher
Remove accumulated thatch - the layer of dead stems and roots - so seed can reach mineral soil.
Core aerator (walk-behind or plug-in)
Pull soil plugs to relieve compaction and create ideal pockets for seed-to-soil contact.
Broadcast or drop spreader
Distribute grass seed evenly across the lawn at the correct seeding rate.
Lawn roller (water-fillable)
Press seed firmly into the soil surface after spreading to improve germination contact.
Garden hose with adjustable spray nozzle or oscillating sprinkler
Provide light, consistent moisture during the critical germination and early establishment period.
Step-by-Step Overseeding Process
Follow these steps in order for the best results. Skipping preparation steps - particularly aeration and thatch removal - is the most common reason overseeding fails to produce noticeable improvement.
Don't Apply Crabgrass Preventer Before Overseeding
Pre-emergent herbicides (commonly applied in spring to block crabgrass) also prevent desirable grass seeds from germinating. If you recently applied a pre-emergent product, wait the number of weeks specified on its label before overseeding - typically eight to twelve weeks. Applying seed too soon after a pre-emergent will result in poor or zero germination and wasted effort.
Diagnose why your lawn is thin
Before spreading a single seed, figure out what caused the thinning. Common culprits include soil compaction, excessive thatch buildup, too much shade, poor drainage, or prior disease and pest damage. Walk the lawn and look for patterns: uniform thinning often signals compaction or a nutrient gap, while irregular bare patches may indicate disease or grub damage. Addressing the underlying cause - not just the symptom - is what separates a lasting fix from a temporary one.
Mow low and remove thatch
Set your mower to the lowest safe height for your grass type - generally around 1.5 to 2 inches for cool-season grasses - and mow the entire lawn. Collect and remove the clippings. Next, use a dethatching rake or a power dethatcher to break up the layer of dead organic matter sitting between the soil surface and the green grass blades. A thatch layer thicker than about half an inch creates a barrier that prevents seed from reaching soil. After dethatching, rake up and remove the debris.
Aerate the soil
Core aeration - pulling out small plugs of soil roughly two to three inches deep - is the most effective way to relieve compaction and create ready-made seed beds. Walk-behind core aerators can be rented from most equipment rental centers. Make two passes in perpendicular directions across the lawn for thorough coverage. Leave the soil plugs on the surface; they will break down naturally within one to two weeks and contribute organic matter back to the soil. This step dramatically improves the seed-to-soil contact that overseeding depends on.
Select and spread the seed
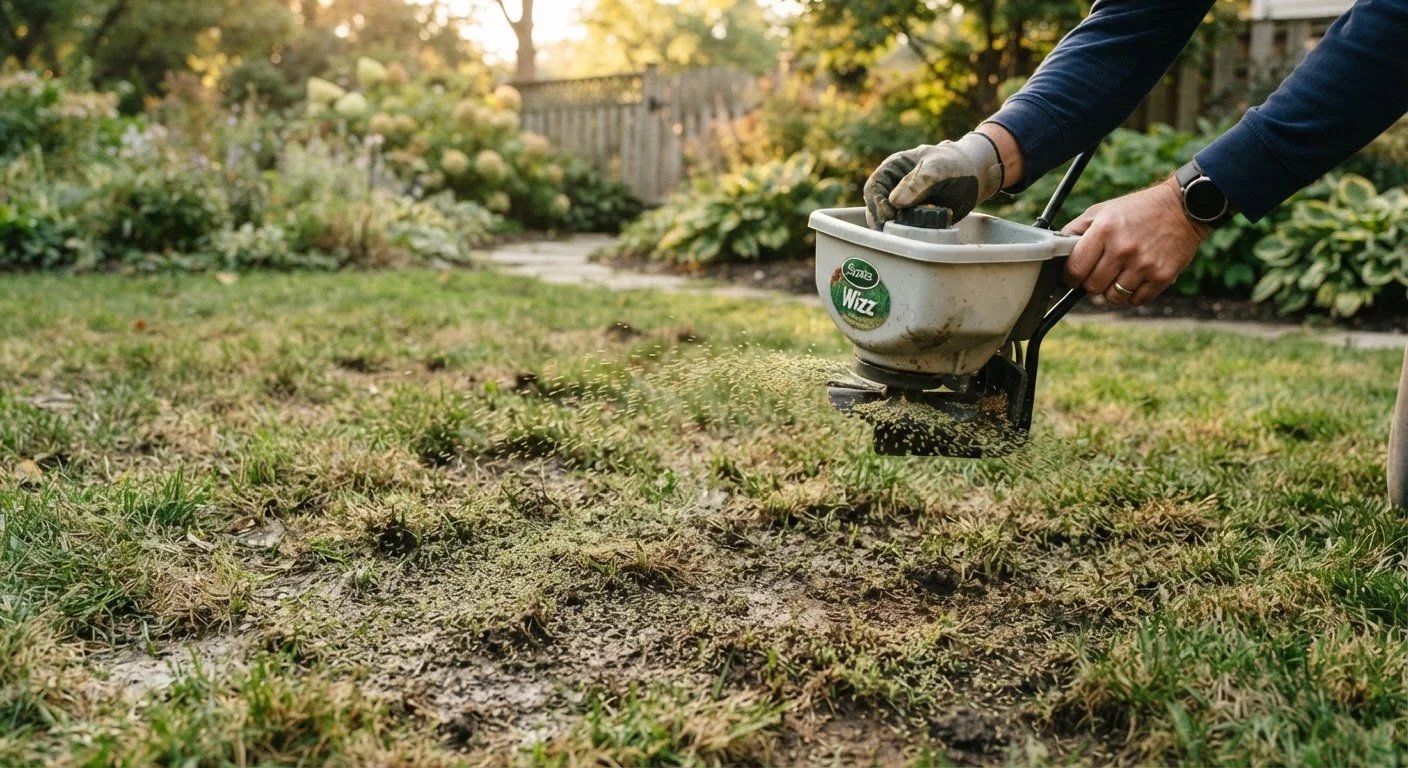
Choose a seed variety that matches your existing grass type and suits your site conditions - shade-tolerant blends for low-light areas, drought-tolerant varieties for dry regions. Read the seeding rate on the seed bag label; overseeding rates are typically lower than new-lawn establishment rates because existing grass already covers part of the area. Load your broadcast or drop spreader and apply the seed in two directions - north-to-south and east-to-west - to get even distribution. After spreading, lightly rake the surface to work seed into the aeration holes and soil contact points.
Roll and water immediately
If you have access to a lawn roller, fill it partially with water and roll the seeded area once to press seed firmly against the soil. This step improves germination rates by maximizing contact. Then water immediately after seeding with a gentle spray to moisten the top one to two inches of soil without washing seed away. This first watering is critical - seed that dries out within hours of spreading often fails to germinate.
Maintain consistent moisture until germination
For the first two to three weeks, water lightly but frequently - typically two to three short watering sessions per day, or enough to keep the top inch of soil consistently moist. Most cool-season grass seeds germinate within seven to twenty-one days under good conditions. As seedlings emerge and reach about one inch tall, begin transitioning to less frequent but deeper watering to encourage roots to grow downward.
Resume mowing carefully
Wait until new seedlings reach at least three to four inches tall before mowing - this generally takes three to five weeks depending on grass type and weather. When you do mow, keep the blade high and sharp. Never remove more than one-third of the grass blade in a single mowing. Heavy foot traffic should also be limited for the first four to six weeks to avoid uprooting seedlings before they are anchored.
Once your overseeded lawn is established, maintaining it through the seasons keeps results long-lasting. Our year-round lawn and garden care overview provides a full calendar of tasks to keep turf healthy from spring through winter.
Common Reasons Overseeding Fails - and How to Avoid Them
Even with good seed and good intentions, overseeding can underdeliver when a few key factors are overlooked. Understanding these pitfalls up front saves time and money.
- Poor timing: Seeding outside the optimal seasonal window means competing with heat, cold, or weed pressure that overwhelms young seedlings before they establish.
- Insufficient soil contact: Seed scattered on top of dense thatch or compacted soil simply dries out and never germinates. Aeration and dethatching are not optional - they are what make the seed investment worthwhile.
- Inconsistent watering: The single biggest cause of germination failure after soil contact issues. New seedlings have extremely shallow roots and cannot tolerate even brief dry spells.
- Wrong seed selection: Mismatched grass types create an uneven, weedy appearance and may not persist long-term in your climate.
- Mowing too soon or too low: Young seedlings pulled out by an early or aggressive mowing session never recover. Patience in the first month pays off.
Match Seed to Your Existing Grass Type
Using the wrong grass species - such as a cool-season ryegrass over a warm-season Bermuda lawn - will create a visually inconsistent turf and may introduce competitive, weedy-looking patches. Identify your current grass type before purchasing seed. If you are unsure, your local cooperative extension office can help you identify it based on your region and grass characteristics.
If your lawn has a persistent problem area - such as heavy shade from a tree canopy - overseeding alone may not be a permanent fix. In those cases, it may be worth considering shade-tolerant ground covers, mulch beds, or adjusting the canopy through selective pruning in consultation with a certified arborist.
The content on this site is provided for informational purposes only and should not be considered a substitute for professional advice. While we strive to provide accurate and up-to-date information, we make no guarantees regarding its completeness or accuracy. Always consult a qualified professional for advice specific to your circumstances before making any decisions.