

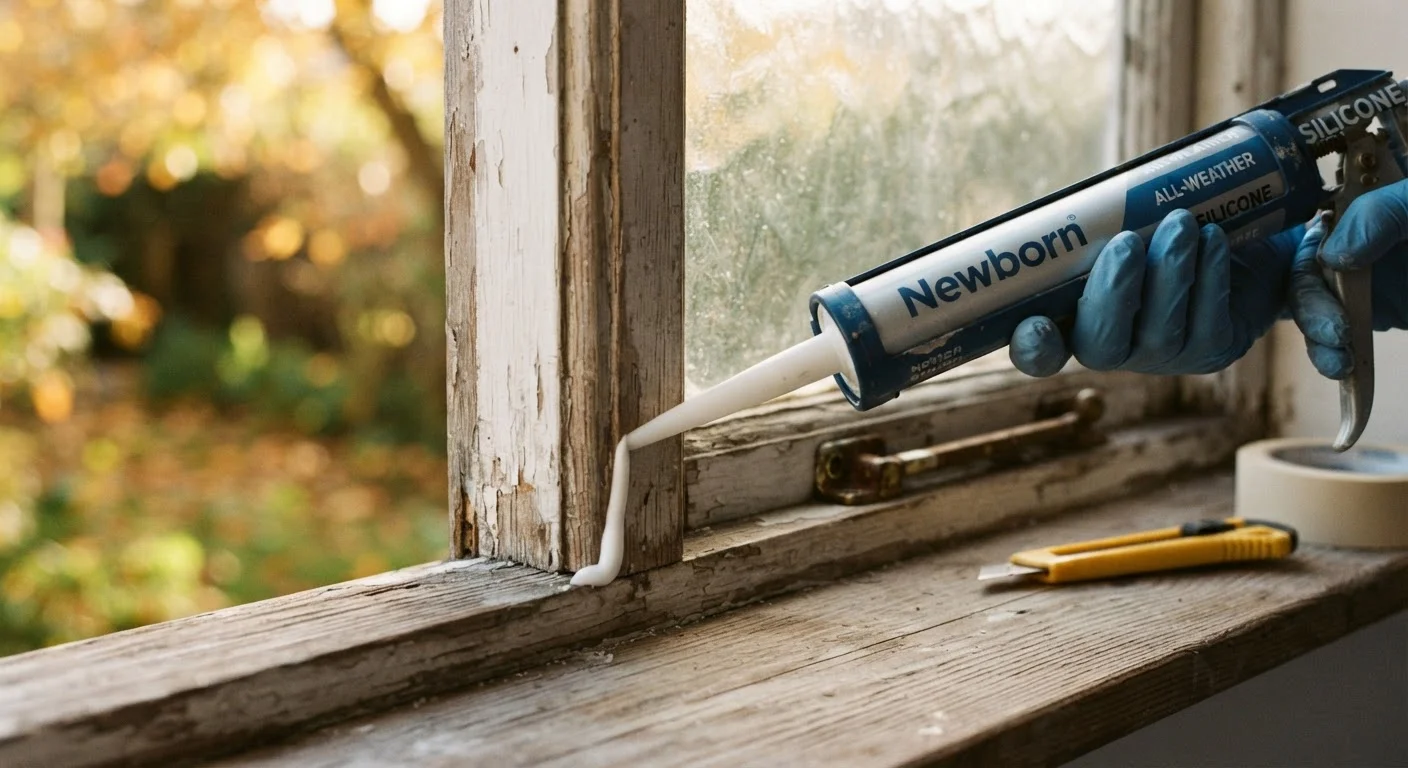
Why Air Leaks Matter More Than You Think
Even a well-insulated home loses a surprising amount of conditioned air through tiny gaps around windows and doors. These leaks force your heating and cooling system to work harder to maintain a comfortable temperature - a strain that can shorten equipment life and raise monthly utility bills. Air sealing is a foundational maintenance task covered in the Fall Weatherization Checklist for American Homes and fits naturally into the broader rhythm of the annual home maintenance calendar.
Beyond energy efficiency, unsealed gaps allow moisture to migrate into wall cavities, which can contribute to mold and wood rot over time. Insects and fine debris also enter through gaps you may not be able to see with the naked eye. The good news: the fix is inexpensive, requires no special licenses or permits, and most homeowners can complete it in an afternoon.
Best Time to Caulk Outdoors
Most exterior caulks require temperatures between 40°F and 80°F to cure properly. Avoid applying caulk on very cold, very hot, or rainy days. Early fall or late spring mornings are often ideal conditions across most of the United States.
Tools and Materials You'll Need
Gathering the right supplies before you start saves multiple trips to the hardware store. The core materials - caulk and weatherstripping - are widely available and come in several formulations suited to different conditions.
Caulk gun
Dispenses caulk from the tube in a controlled, consistent bead along window and door frame joints.
Paintable silicone-acrylic caulk
Fills stationary gaps between the window or door frame and the surrounding wall to block air and moisture.
Weatherstripping (foam, V-strip, or bulb type)
Seals the moving contact points on doors and operable window sashes where caulk cannot be used.
Plastic scraper or caulk-removal tool
Removes old, cracked caulk from joints before new material is applied.
Foam backer rod
Fills oversized gaps (wider than 1/4 inch) before caulking to conserve material and improve seal durability.
Painter's tape
Masks surfaces on either side of the joint to produce clean caulk lines without smearing.
Incense stick or thin candle
Used to detect air movement and locate drafts around frames before sealing begins.
When choosing caulk, a paintable silicone-acrylic blend (sometimes labeled "siliconized latex") is a practical choice for most interior and exterior window and door frames. Pure silicone cures more flexibly and is preferred for exterior joints that experience significant seasonal movement, but it does not accept paint. Read the product label carefully and choose a formulation rated for the surface material you're sealing (wood, vinyl, aluminum, masonry).
Locating Drafts Before You Seal
Identifying exactly where air is entering - rather than guessing - ensures you spend materials where they matter most. On a cold or windy day, move a lit stick of incense or a thin candle flame slowly around the perimeter of each window and door frame, including the corners and the area where the frame meets the wall. Smoke or flame deflection signals an air leak. You can also hold your dampened hand near seams; moving air will feel noticeably cooler.
Check these specific locations on every window and door:
- The joint between the window or door frame and the surrounding wall (exterior casing)
- The sill plate (the bottom horizontal member of the frame)
- Gaps between the sash and the frame on operable windows
- The threshold gap under exterior doors
- Gaps around electrical outlets and switch plates on exterior walls (addressed separately with foam gaskets)
Step-by-Step: Sealing with Caulk and Weatherstripping
Work through windows and doors one at a time. Stationary gaps - where frame meets wall - are sealed with caulk. Moving joints - where a door closes against its stop or a window sash slides against the frame - require weatherstripping, since caulk there would prevent operation.
Remove old caulk and clean the surface
Use a plastic scraper or a dedicated caulk-removal tool to scrape away any existing caulk from the joint. Residual caulk prevents a new bead from bonding properly. Once scraped, clean the area with a damp cloth to remove dust, grease, and loose paint. Allow the surface to dry completely - applying caulk to damp surfaces is one of the most common causes of early failure.
Apply painter's tape for clean lines (optional but recommended)
Run painter's tape along both sides of the joint you plan to caulk, leaving the gap exposed. This step isn't strictly necessary, but it produces neat edges and prevents caulk from smearing onto painted trim or glass. Press the tape edges firmly so caulk doesn't bleed underneath.
Load the caulk gun and cut the nozzle
Insert the caulk tube into the gun. Cut the nozzle tip at a 45-degree angle - start with a small opening (about 3/16 inch) and enlarge only if the gap requires it. A smaller opening gives you more control. Puncture the inner foil seal with the tool built into most caulk guns or with a long nail.
Apply a steady bead of caulk
Hold the gun at roughly a 45-degree angle to the joint and move at a consistent speed while squeezing the trigger smoothly. Aim to fill the gap in a single continuous pass. For gaps wider than about 1/4 inch, consider using a foam backer rod (a flexible foam cord) first to fill the void, then caulk over it - this uses less material and produces a more durable seal.
Tool the bead smooth and remove the tape
Within a few minutes of applying the caulk, run a wetted fingertip or a plastic caulk tool along the bead to press it into the joint and smooth the surface. Remove the painter's tape immediately after tooling - before the caulk skins over - pulling it back at a low angle to avoid lifting the fresh bead.
Install or replace weatherstripping on door stops and window sashes
For door stops, peel-and-stick foam or vinyl V-strip (tension seal) weatherstripping compresses against the door face when closed. Clean the stop surface with rubbing alcohol before applying adhesive-backed types. For double-hung windows, V-strip is pressed into the channel where the sash slides, springing outward to fill the gap. Cut strips to length with scissors and press firmly along the entire run.
For doors specifically, don't overlook the threshold. Door sweeps (which attach to the bottom of the door) and threshold gaskets address the gap at the floor, which is often the largest single source of air infiltration through an exterior door. These pieces compress when the door closes, forming an airtight seal without impeding normal operation.
If your windows and doors are in poor structural condition - rotted frames, cracked glass, or frames that have shifted significantly out of square - air sealing will provide only partial benefit. In those situations, consult a qualified window and door contractor to evaluate whether repair or replacement is warranted before investing time in sealants.
Maintaining Your Seals Over Time
Caulk and weatherstripping are consumable materials. Most exterior caulk formulations are rated to last five to ten years under normal conditions, but UV exposure, thermal cycling, and moisture can shorten that lifespan. Inspect seals each fall - a good habit tied to the broader seasonal weatherization checklist. Look for cracking, shrinkage, or gaps where caulk has pulled away from one surface.
Weatherstripping on frequently used doors tends to wear faster - foam types may compress permanently within one to three years, while reinforced rubber or vinyl bulb styles often last longer. Test door weatherstripping by closing the door on a piece of paper: if you can slide the paper freely, the seal is no longer effective.
Keeping your HVAC system well maintained alongside these efforts maximizes efficiency gains. See our related article on common HVAC filter misconceptions for guidance on the system side of home energy performance.
The content on this site is provided for informational purposes only and should not be considered a substitute for professional advice. While we strive to provide accurate and up-to-date information, we make no guarantees regarding its completeness or accuracy. Always consult a qualified professional for advice specific to your circumstances before making any decisions.