

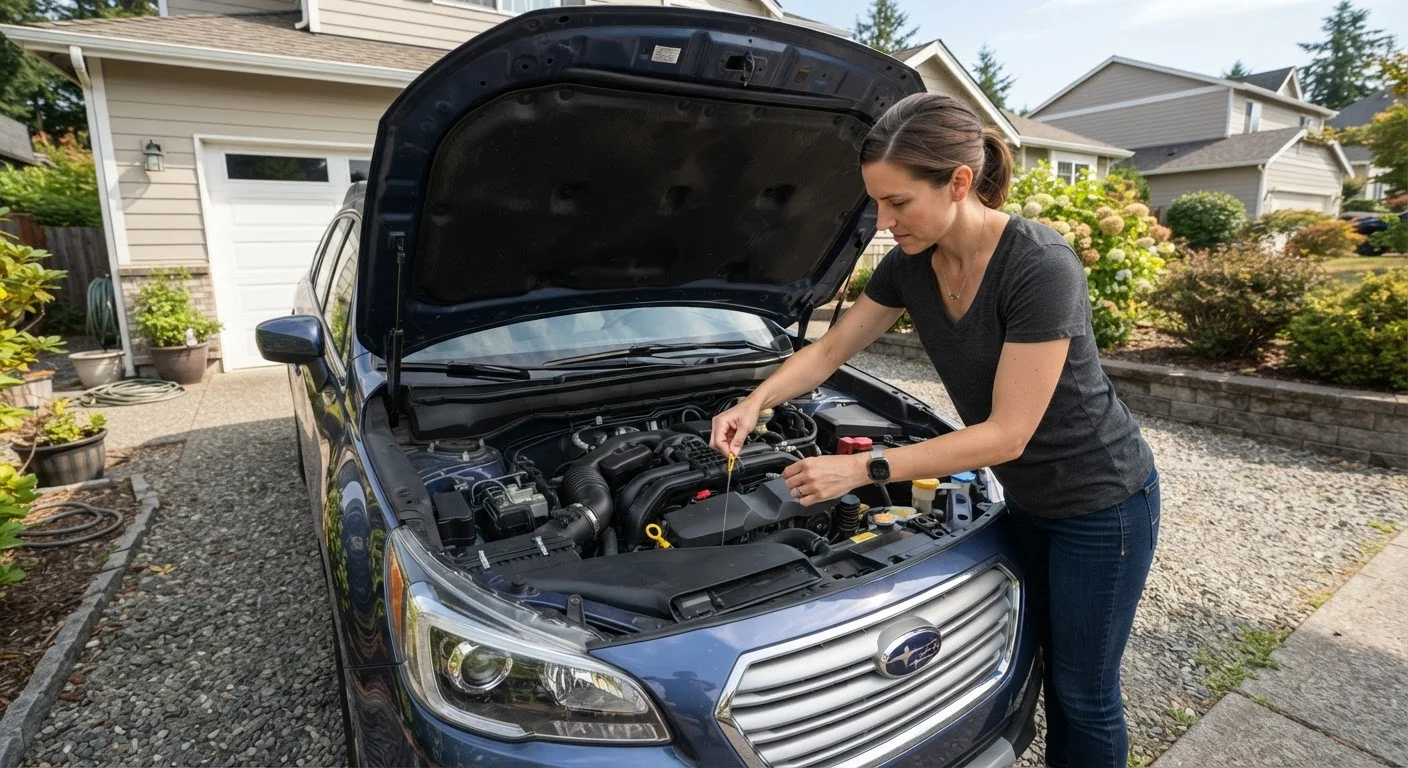
Why Fluid Checks Are Worth 10 Minutes of Your Time
Your vehicle depends on a handful of fluids to lubricate, cool, pressurize, and clean its critical systems. When any of them runs low or degrades, the consequences range from accelerated component wear to outright failure - and repair bills that dwarf the cost of a few minutes of prevention. Many drivers wait for a dashboard warning light before acting, but by the time a warning illuminates, damage may already be underway.
The good news is that checking five key fluids requires no mechanical skill, no special tools, and typically less time than it takes to run a quick errand. As part of a broader commitment to keeping your car reliable long-term, these checks are one of the highest-return habits a driver can build.
Owner's Manual
Identifies the location of each fluid reservoir and specifies the correct fluid type for your vehicle.
Clean Rags or Paper Towels
Used to wipe dipsticks clean before taking readings and to clean up any spills.
Flashlight
Helps illuminate the engine bay, especially around darker reservoirs or in low-light conditions.
Nitrile Gloves
Protects hands from contact with motor oil, coolant, and brake fluid.
What You'll Need Before You Start
Gather a few basics before popping the hood. The most important item is your owner's manual - it maps out the exact location of each reservoir and lists the fluid specifications your vehicle requires. Using the wrong product (a common mistake) can be as harmful as running low.
What you will need
For context on how fluid checks fit into the full picture of vehicle upkeep, see the guide to routine car maintenance and when each task is due. It's also worth reviewing common maintenance myths - a few misconceptions about fluid change intervals persist that can lead to unnecessary spending or genuine neglect.
Step-by-Step: Check Each Fluid
Work through the checks in the order below. Each one takes roughly 60-90 seconds once you know where to look. Always start with the engine off and the vehicle on level ground.
Park safely and let the engine cool
Pull onto a flat, level surface and turn off the engine. Wait at least 10-15 minutes before opening the hood. A hot engine can give inaccurate fluid readings and poses a burn risk, particularly around the coolant reservoir and radiator cap. Never remove a pressurized radiator cap on a hot engine.
Check the engine oil level
Locate the oil dipstick - it typically has a brightly colored (yellow or orange) ring handle. Pull it out fully, wipe it clean with a rag, reinsert it all the way, then pull it out again. The oil should fall between the two marks labeled MIN and MAX (or L and H). Note the color too: fresh oil is amber; dark brown or black oil suggests it's due for a change. Milky or foamy oil can indicate coolant contamination - have a mechanic inspect this promptly.
Inspect the coolant (antifreeze) level
The coolant reservoir is a translucent plastic tank connected to the radiator, usually marked with MIN and MAX lines you can read without opening it. The fluid should be between those lines. Check the color as well - coolant is typically bright green, orange, or pink depending on the type. If it looks rusty, oily, or has visible particles, the system may need a flush. Confirm which coolant type your vehicle requires before topping off, as mixing incompatible types degrades corrosion protection.
Check the brake fluid
The brake fluid reservoir sits atop the master cylinder near the back of the engine bay on the driver's side. Most reservoirs are translucent, so you can check the level without opening it - the fluid should be between MIN and MAX lines. Brake fluid is typically clear to pale yellow when new; dark brown fluid indicates moisture absorption and reduced braking performance. If the level is noticeably low, top it off with the correct DOT specification (printed on the reservoir cap), then inspect your brake pads - a low level often accompanies worn pads.
Inspect the power steering fluid (if applicable)
Many newer vehicles use electric power steering and have no fluid reservoir. If your car has hydraulic power steering, the reservoir is typically labeled and has either a dipstick or MIN/MAX markings on its translucent body. Low power steering fluid can cause whining noises or heavy steering. Top off with the specified fluid type and inspect hoses around the reservoir for signs of leaks - staining or wet residue around fittings warrants a mechanic's attention.
Check the windshield washer fluid
The washer fluid reservoir is marked with a windshield-and-wiper icon. While not critical to engine health, an empty reservoir is a genuine safety hazard in poor visibility conditions. Fill it with a commercial washer fluid rated for your climate - in winter, use a formula with freeze protection appropriate for your region. Plain water is not recommended; it can freeze in cold temperatures and promote mold or mineral buildup.
A Recurring Drop Means Something Is Wrong
If any fluid level drops noticeably between checks - especially engine oil, coolant, or brake fluid - do not simply keep topping it off. A consistent decline points to a leak or internal consumption issue that requires professional diagnosis. Ignoring it can lead to component failure or, in the case of brakes, a serious safety hazard.
What to Do After Your Check
Once you've worked through all five reservoirs, close the hood securely - give it a firm press until you hear it latch. If you topped off any fluid, note the date and mileage so you can track whether levels hold steady over the next few weeks.
If you spotted anything concerning - discolored fluid, an unexpected level drop, or anything that looks like a leak - don't defer it. Use your pre-trip checks (see the pre-trip safety checklist) to stay vigilant between full inspections, and schedule a mechanic visit promptly when a problem is suspected rather than confirmed.
Build This Into a Monthly Habit
Pairing your fluid checks with another routine task - filling up gas, the first day of each month, or a long highway trip - makes it easy to stay consistent. Combine it with the broader seasonal maintenance checklist to keep your vehicle in shape year-round.
These checks are a small but meaningful part of the broader work of responsible car ownership. Drivers who stay ahead of fluid maintenance consistently avoid the kinds of breakdowns and component failures that strand vehicles - and empty wallets. For a full framework, the car ownership basics hub covers everything from documentation to long-term reliability.
The content on this site is provided for informational purposes only and should not be considered a substitute for professional advice. While we strive to provide accurate and up-to-date information, we make no guarantees regarding its completeness or accuracy. Always consult a qualified professional for advice specific to your circumstances before making any decisions.