

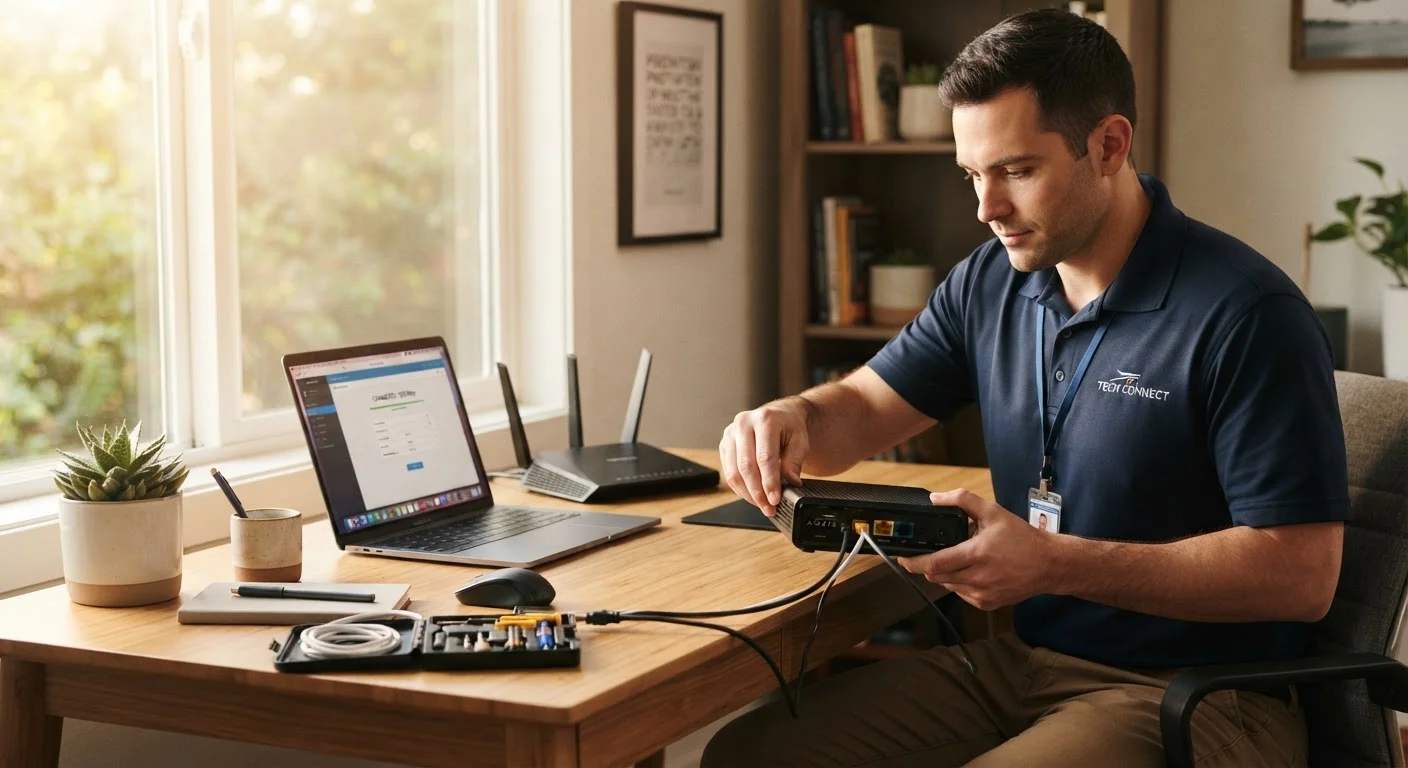
Why Switching ISPs Trips People Up
Changing internet providers sounds simple in theory - sign up with a new company, cancel the old one. In practice, consumers routinely run into unexpected early termination fees, temporary gaps in service, and billing headaches that drag on for weeks. Understanding where the friction points are makes the entire process far more manageable.
The most important principle: treat the switch as an overlap event, not a cutover. You want both services running simultaneously for at least a few days. This isn't about indecision - it's about having a safety net while you verify speeds, reconnect devices, and confirm the new service holds up under real household conditions.
Don't Cancel Before You're Connected
Canceling your existing ISP before your new service is confirmed and tested is the most common mistake consumers make during a switch. Even a short gap in connectivity can disrupt remote work, smart home devices, and streaming. Always run both services in parallel until you're satisfied with the new one.
If you've recently gone through a similar process with a mobile carrier, the ISP switch follows comparable logic. Our article on switching wireless carriers without losing your number covers the parallel steps for that situation.
What to Do Before, During, and After
The steps below walk through the switch in sequence, from reviewing your current contract through returning your old provider's equipment. Each stage has its own potential pitfalls, so read through the full process before acting.
What you will need
Having your tools ready before you start prevents unnecessary delays once installation day arrives.
Speed test tool (e.g., a browser-based speed test)
Verify your new connection is delivering the speeds promised in your plan.
Ethernet cable
Provides a wired connection for a more accurate baseline speed test during setup.
Notepad or digital document
Track account numbers, return shipping details, and cancellation confirmation numbers.
Review your current ISP contract
Before you do anything else, pull up your current service agreement. Look for the contract end date and any early termination fee (ETF). Some providers charge a flat fee; others prorate it based on months remaining. If you're month-to-month, you typically owe only through the end of the current billing cycle.
For a deeper dive into what these clauses mean, see our guide to decoding ISP contracts.
Research and select your new provider
Confirm which ISPs actually serve your address - availability varies block by block. Consider connection type (fiber, cable, DSL, or fixed wireless), advertised speeds, and any data caps. Our breakdown of internet connection technologies explains how each technology performs in real-world conditions.
Once you've narrowed your options, ask the right questions before signing. Our article on questions to ask before signing up for a home internet plan covers contract length, equipment fees, and installation costs.
Schedule installation with your new ISP
Book your installation date and arrange for overlap - ideally 3 to 7 days where both services are active simultaneously. Most ISPs allow you to start service before you cancel elsewhere. This buffer gives you time to test speeds and connectivity without risking a gap.
Migrate ISP-dependent services
If you use an email address provided by your current ISP (such as @comcast.net or @att.net), update that address everywhere it's used before you lose access. Notify contacts, update login credentials for accounts that use it as a recovery email, and export any stored messages.
Also check whether your current ISP provides a security suite, cloud storage, or other bundled software. These typically terminate with your service.
Set up and test your new connection
Once your new service is active, run a wired speed test using an ethernet cable connected directly to your new modem or gateway. Compare results against the speeds listed in your plan. Then test over Wi-Fi from different areas of your home. Reconnect all your devices - phones, smart TVs, thermostats, cameras - to the new network.
Cancel your old service and return equipment
Once you've confirmed the new connection is stable, call your old ISP to cancel. Get a confirmation number and ask for it in writing if possible. Return any rented equipment - modem, router, cable boxes - within the window specified in your agreement. Keep your return receipt or tracking number until the final bill clears.
Keep Records Through the Entire Process
Document every interaction: save chat transcripts, note the name and employee ID of any phone representative, and screenshot your final bills from both providers. Billing disputes after a switch are common, and a paper trail resolves them much faster.
ISP Email Addresses Disappear When You Cancel
Many consumers overlook that email accounts hosted by an ISP - addresses ending in the provider's domain - are deactivated when service ends. This can lock you out of accounts that use that email for login or recovery. Migrate to a free, provider-independent email service before canceling and update every account that references the old address.
Once your new service is running smoothly and your old account is fully closed, file your return receipts and final bills somewhere accessible. Billing disputes occasionally surface 30 to 60 days after a switch, and documentation makes them straightforward to resolve.
The content on this site is provided for informational purposes only and should not be considered a substitute for professional advice. While we strive to provide accurate and up-to-date information, we make no guarantees regarding its completeness or accuracy. Always consult a qualified professional for advice specific to your circumstances before making any decisions.