

What Number Porting Actually Means
When you switch wireless carriers, you don't have to give up the phone number you've had for years. Under FCC rules, consumers have the right to transfer - or "port" - their number from one carrier to another. The new carrier handles almost all of the mechanics; your main job is to supply the right account information and avoid canceling your old service too soon.
It helps to understand a few terms before you start. If you've ever wondered what separates a major carrier from an MVNO, or what network technology your plan actually uses, our plain-language glossary of carrier terms can bring you up to speed quickly. MVNOs in particular are worth understanding - they often offer lower prices by leasing network access from major carriers, and our overview of how MVNOs work explains the trade-offs involved.
What you will need
Step-by-Step: How to Switch Carriers and Keep Your Number
Follow these steps in order. Skipping ahead - especially canceling your old account early - is the most common and most costly mistake people make during a carrier switch.
Check that your phone is unlocked
A locked phone is programmed to work only on its original carrier's network. Before switching, confirm your device's unlock status. You can usually find this in your phone's settings under Cellular or Mobile Network, or by contacting your current carrier. If you're still paying off an installment plan, you may need to finish payments before an unlock can be requested.
Gather your porting information
Your new carrier will need specific details to initiate a port request. Collect the following from your current account: your 10-digit account number, your account PIN or transfer PIN, the name on the account, and your billing zip code. These must match your current carrier's records exactly - even a small discrepancy can cause the request to be rejected.
Sign up with your new carrier - do not cancel yet
Complete enrollment with your new carrier and, when prompted, select the option to transfer your existing number rather than getting a new one. Provide the porting information you gathered. Your new carrier submits the port request on your behalf. Do not contact your old carrier to cancel service - the port process will automatically close your old account once it completes.
Install your new SIM or eSIM
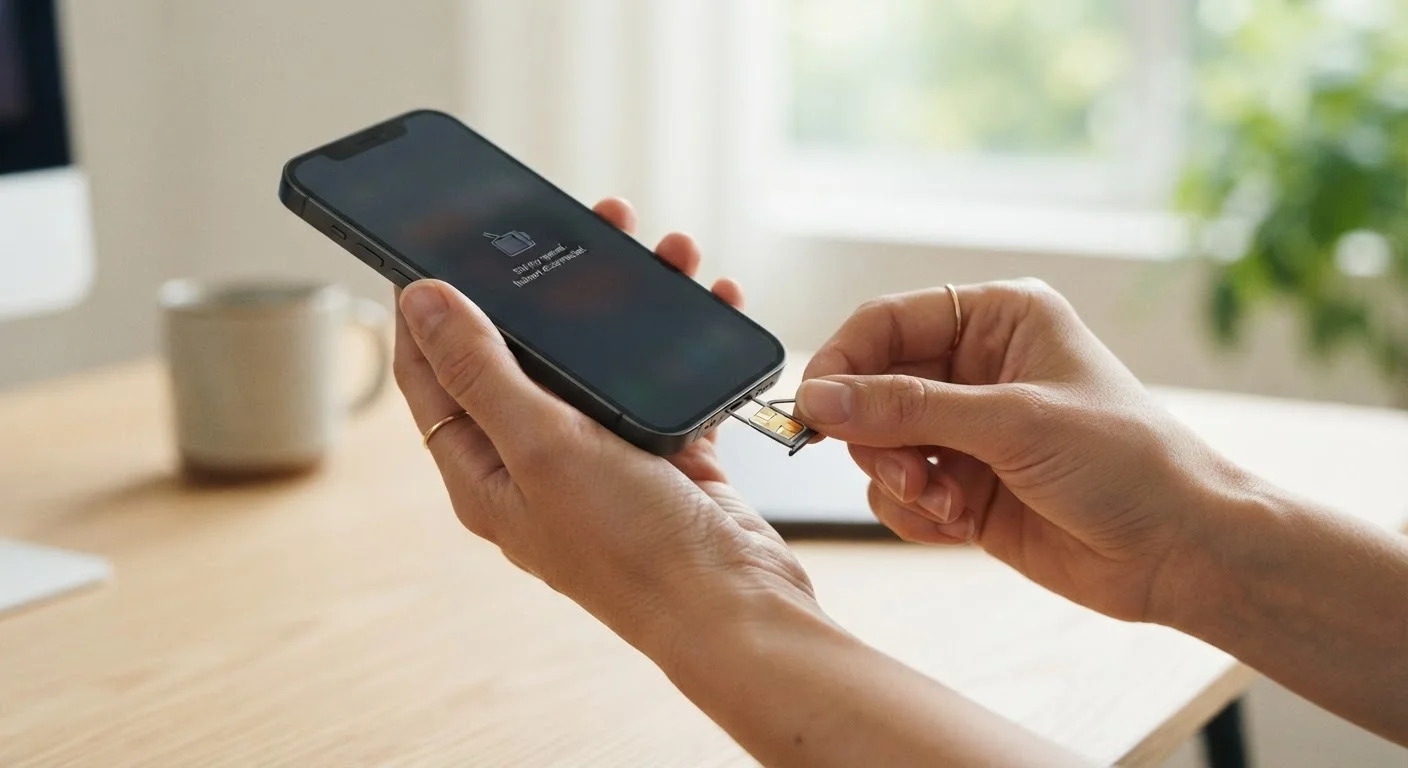
Your new carrier will provide either a physical SIM card or instructions to activate an eSIM (an embedded digital SIM). For a physical SIM, use the ejector tool that came with your phone to swap out the old card. For an eSIM, follow the carrier's app-based or QR code activation instructions. Once installed, restart your phone.
Confirm the port is complete and test your service
Porting typically completes within a few hours, though it can take up to two business days in some cases. You'll usually receive a confirmation text or email from your new carrier. Once notified, make a test call, send a text message, and check your mobile data connection. If anything isn't working after an hour, restart your phone once more before contacting support.
Never Cancel First
The single most damaging mistake in a carrier switch is canceling your current service before the port is complete. Once a number is released without a pending port request, recovering it is extremely difficult and often impossible. Always let the new carrier's port process trigger the closure of your old account automatically.
Common Sticking Points and How to Resolve Them
Even a straightforward port can hit a snag. Here are the issues that come up most often:
- Port rejected due to mismatched information: The name, account number, or PIN you submitted doesn't exactly match what your current carrier has on file. Call your current carrier to confirm the exact details before resubmitting.
- Phone shows "No Service" after porting: This is usually temporary. Restart your device; it needs to register on the new network. If service doesn't appear within an hour, contact your new carrier.
- Locked phone won't work on the new network: Your current carrier is required to unlock your device if you've completed your installment plan or contract. Request an unlock in writing and allow up to two business days.
- Carrier claims the number can't be ported: This is rarely true for standard consumer numbers. If you believe you're being wrongly denied, you can file a complaint with the FCC at fcc.gov/consumers/guides/porting-keeping-your-phone-number-when-you-change-providers.
Before committing to any new plan, it's also worth reviewing common assumptions that cost people money when picking a wireless plan - a few double-checks before you sign can prevent a frustrating mismatch later.
Thinking About International Travel?
If one of your reasons for switching is better international coverage, make sure to evaluate each carrier's roaming policies before you commit. Our guide on choosing a phone plan for international travel walks through roaming, travel day passes, and local SIM options so you're not caught off guard abroad.
The content on this site is provided for informational purposes only and should not be considered a substitute for professional advice. While we strive to provide accurate and up-to-date information, we make no guarantees regarding its completeness or accuracy. Always consult a qualified professional for advice specific to your circumstances before making any decisions.